Step-by-step instructions for making your own Inflatables examples, which have been thoughtfully designed to inspire your participants to start creating!
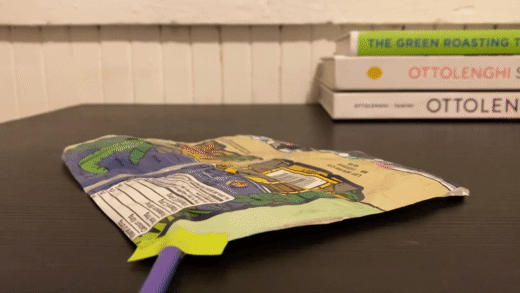
Creating your first inflatable
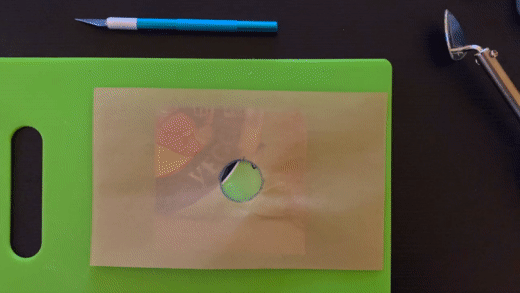
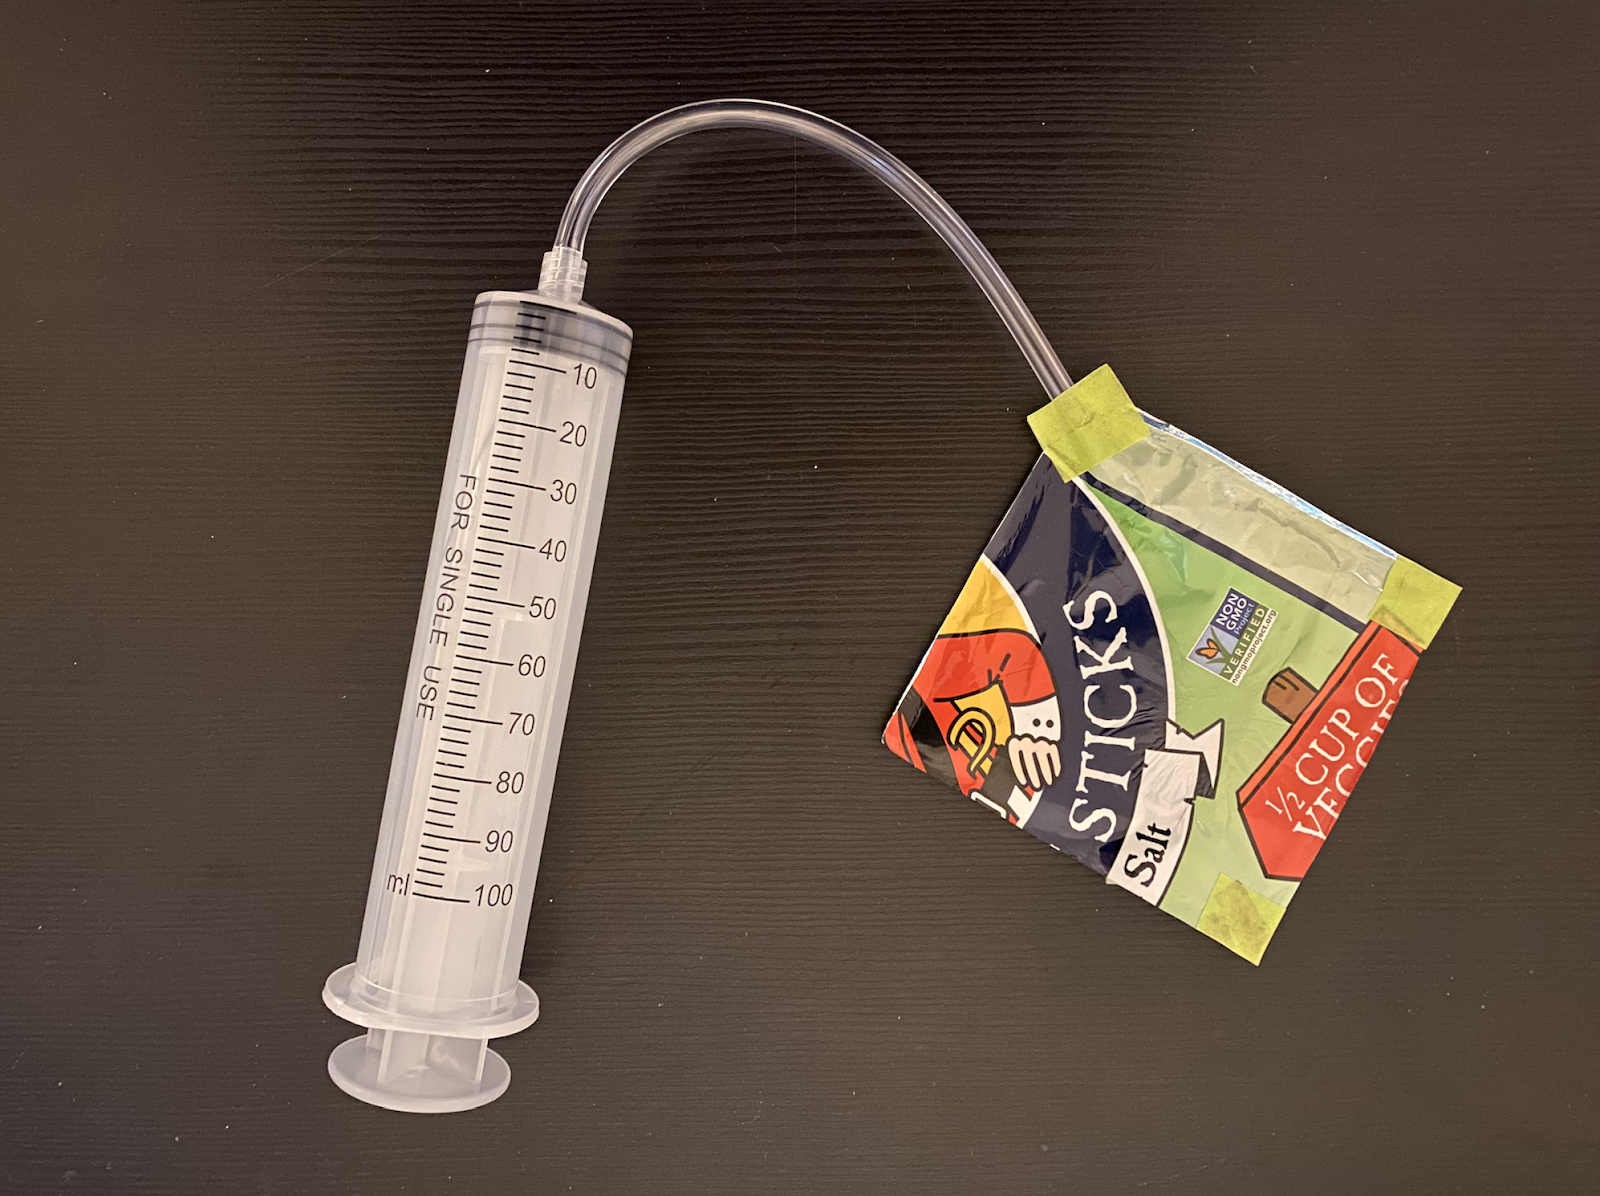
Creating inflatables can be tricky when you get started; there are a couple of different methods to completing the design of your choice! In our playtesting, we've identified some methods that’ll help you get a jump start on creating them. Here, we'll walk you through some initial steps for constructing your first inflatable, and different methods for achieving ‘actuation’—or movement—of your design. It'll take a few tries to get it right; the best way to learn is to keep on creating!
Instructions ↓
/w=1920,quality=90,fit=scale-down)
/w=1920,quality=90,fit=scale-down)
/w=1920,quality=90,fit=scale-down)
/w=1920,quality=90,fit=scale-down)
/w=1920,quality=90,fit=scale-down)
/w=1920,quality=90,fit=scale-down)
/w=1920,quality=90,fit=scale-down)
/w=1920,quality=90,fit=scale-down)

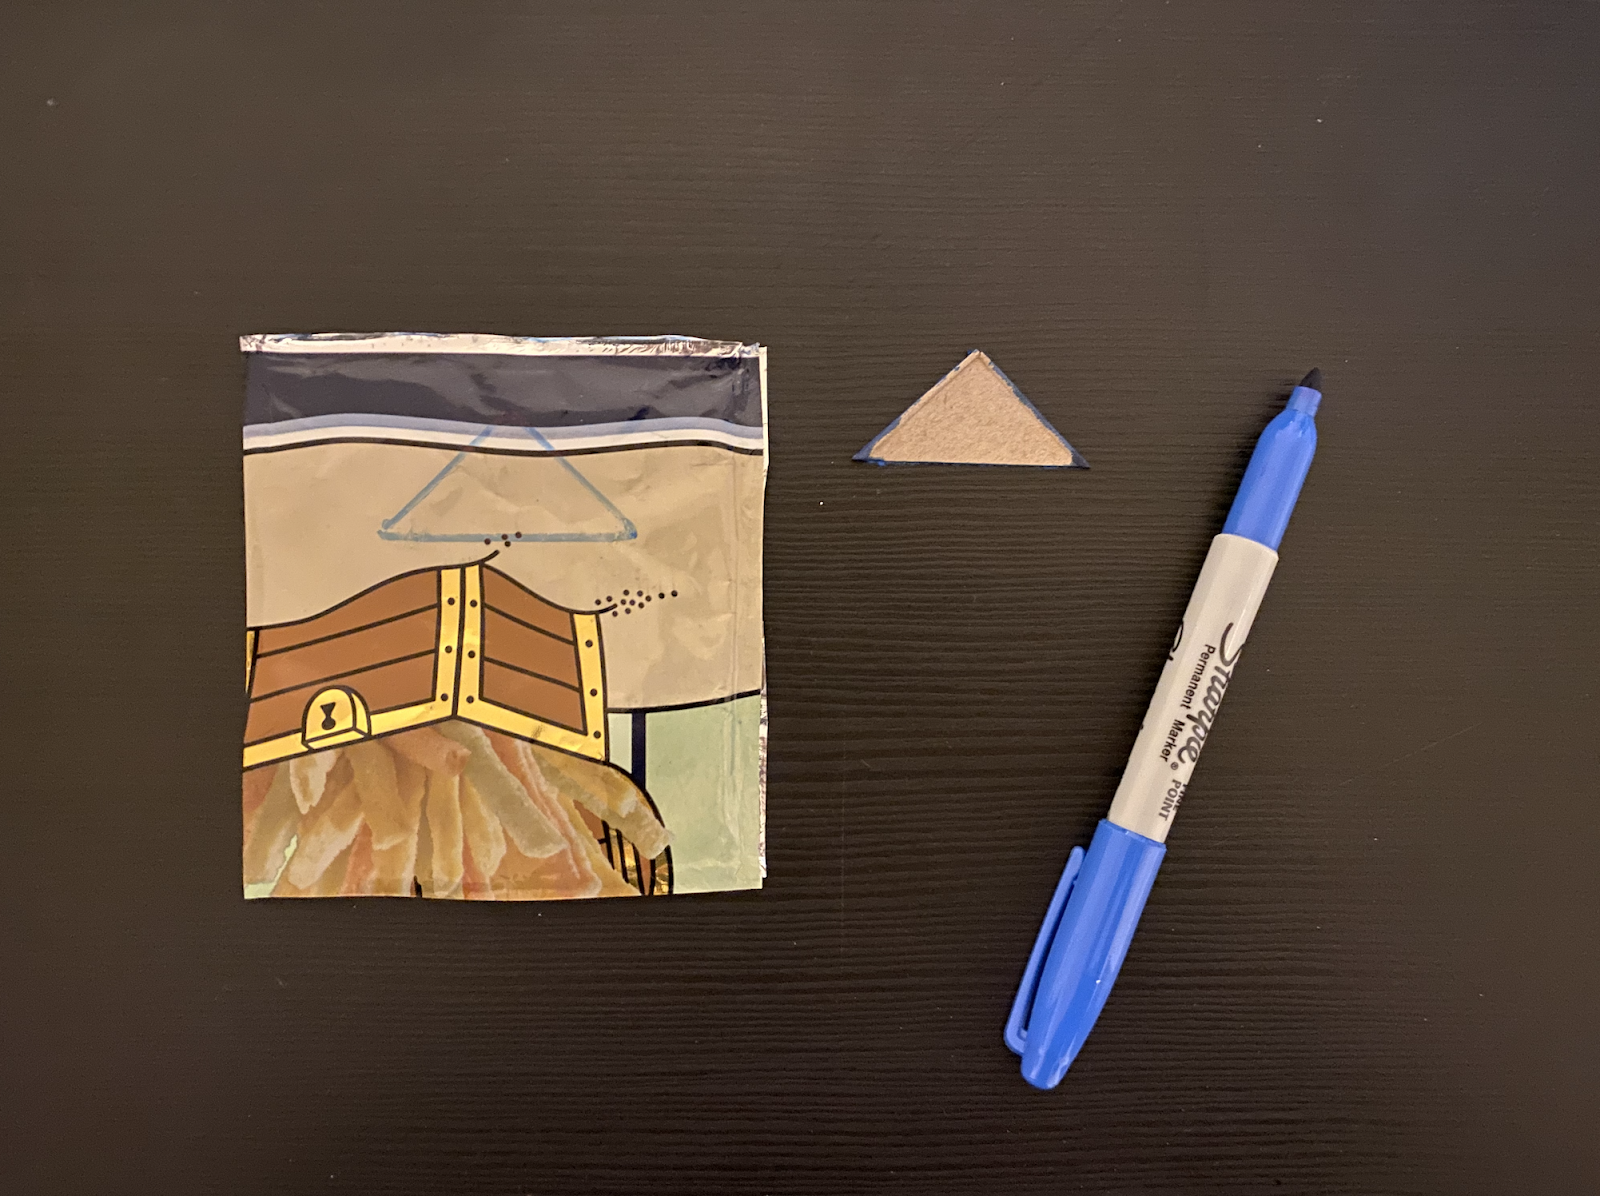
Congrats! You've created your very first inflatable! Think about how the shape you fused at the inflatable's center affects the way it moves (or the way it "actuates"). Experiment with different internal shapes to achieve different types of actuation 👩🔬

Alternate methods for creating inflatables
Remember that other half of your snack bag? You can use that to both create additional examples, as well as test out other ways of making inflatables.
Alternate Method 1 ↓
Alternate Method 2 ↓
Creating example inflatables
When hosting an Inflatables workshop with your patrons, we think that having a wide array of examples of different shapes and motions will help to spark some inspiration for any prompt!
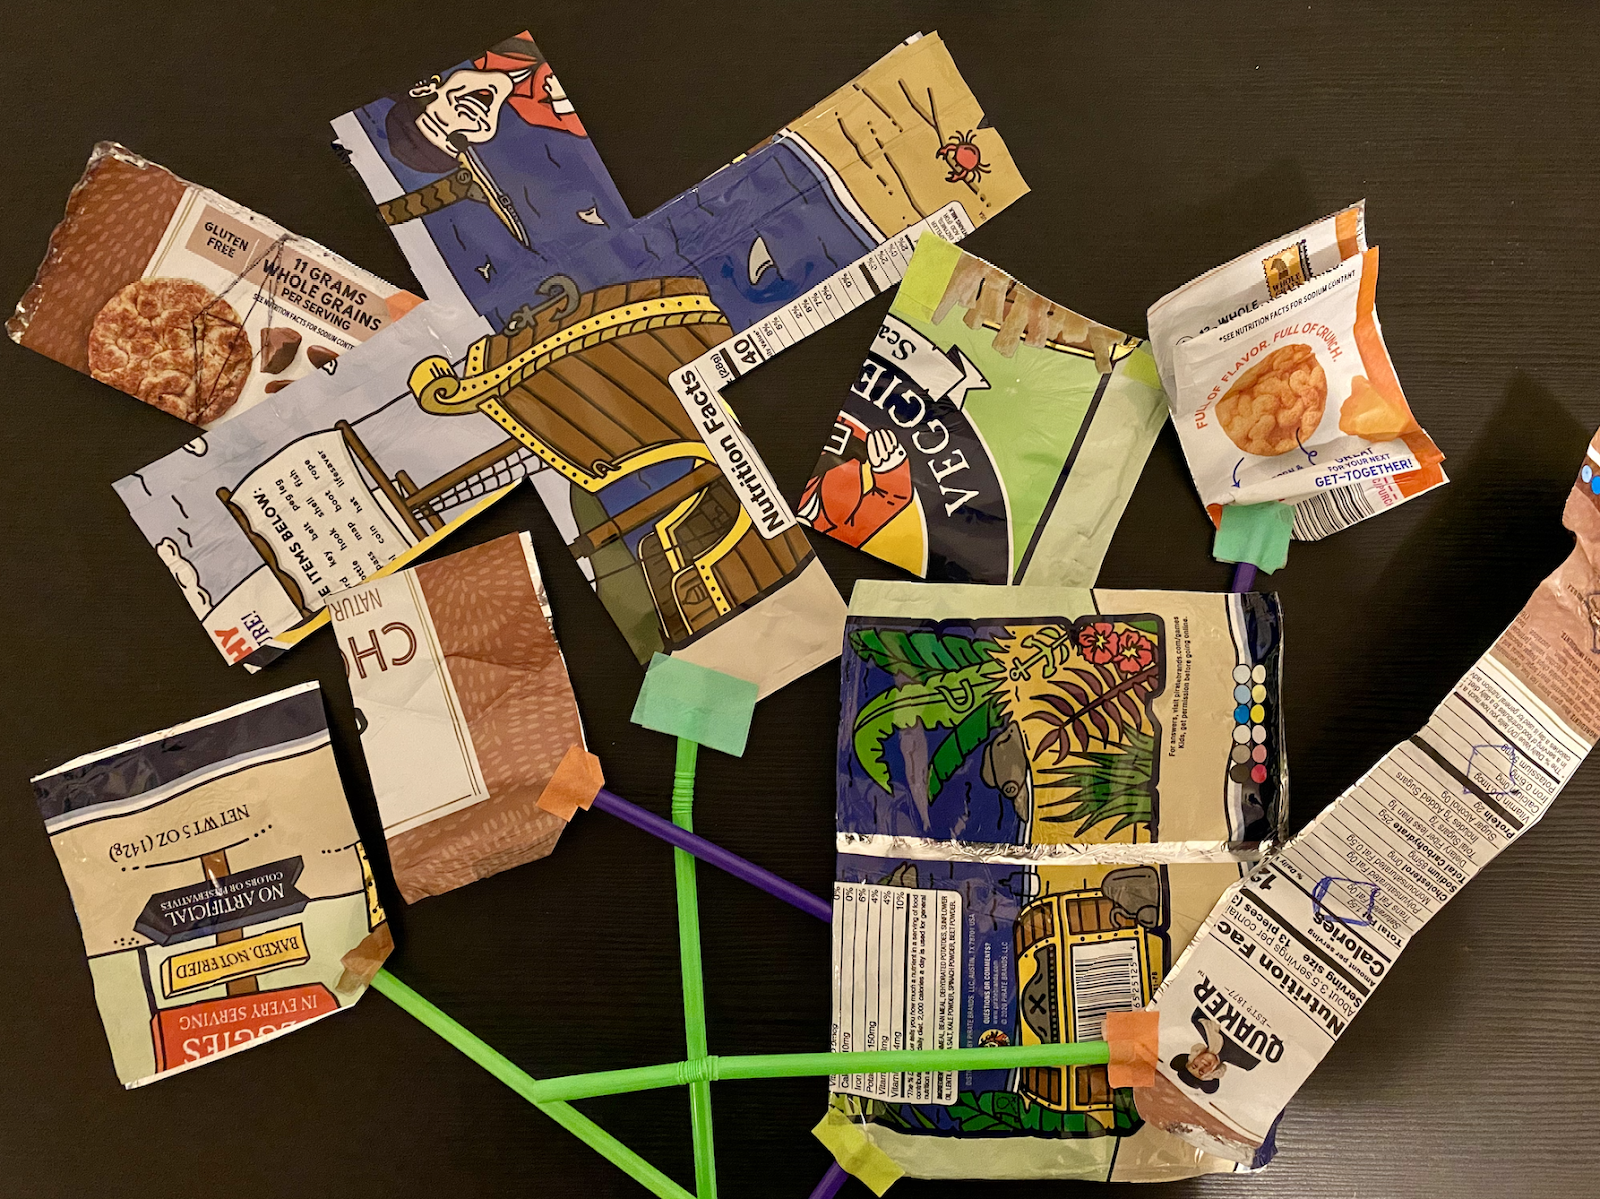
Patterns to showcase ↓


/w=1920,quality=90,fit=scale-down)
How to use these examples
When preparing to facilitate a creative learning activity, it is important to think carefully about how you're setting up the learning environment. One very important component of this setup is populating your space with a variety of example projects.
During your workshop, make these examples available to your participants by setting them up as demo stations in your workspace. This allows participants to use the examples as a reference if they’re looking for inspiration, have a question, or choose to examine them.
Important: Avoid detailing the steps that went into making the examples and/or having participants make any of the examples. Simply introduce the workshop prompt or theme, and let people dive right in!
And remember, as a facilitator, you don’t have to have all the answers. Good examples can help with troubleshooting and questions from your participants, so don’t forget to first refer someone to an example (or a peer’s project) if they’re stuck!
Back to No access